Buried Easter Egg Guide — Mined Games, Maxis & Richtofen Endings (Black Ops 2 on PS5)
Complete Mined Games easter egg walkthrough for Buried in Black Ops 2 Zombies on PS5 — both finales: Richtofen's guillotine path (Paralyzer, wisp, round infinity) and Maxis' gallows path (Subsurface Resonator, spire, bells), the sharpshooter finale, permanent perks reward, and which steps work solo.
Overview
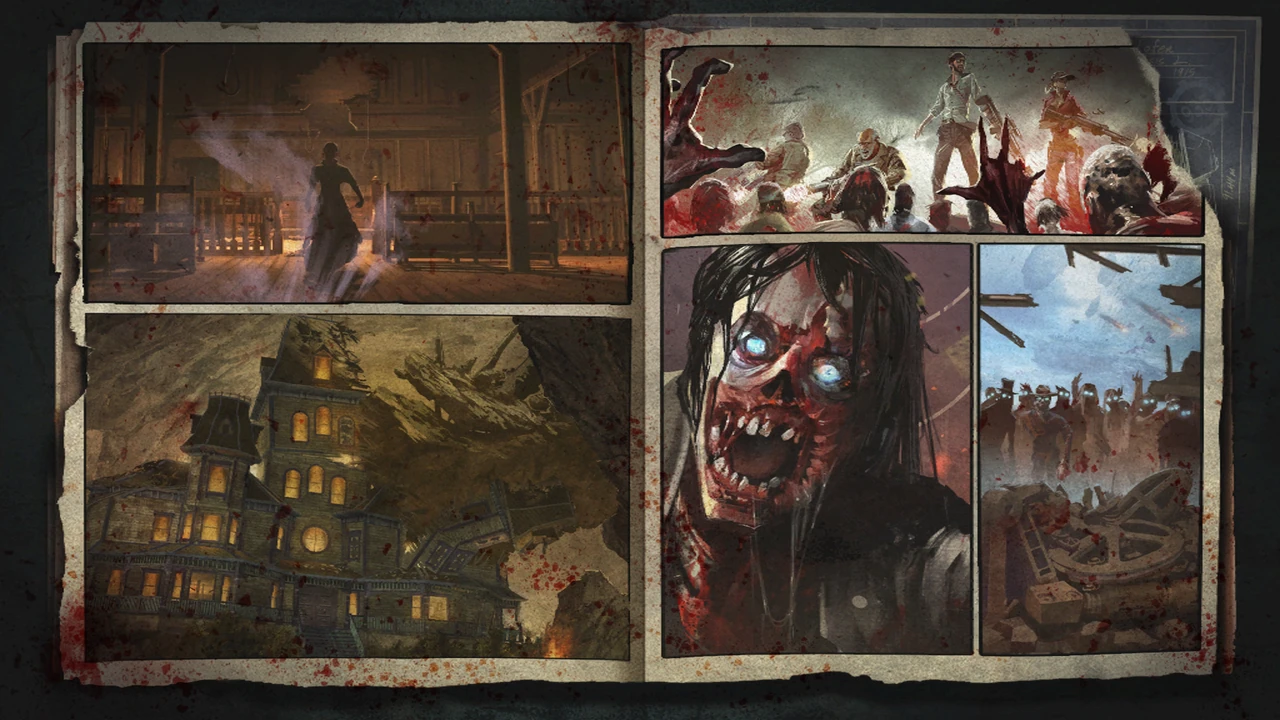
Buried sinks an Old West town beneath the ground and hands you Leroy (the friendly giant), the Paralyzer, and the final act of the Maxis vs Richtofen war. The quest — Mined Games — has two mutually exclusive paths: Richtofen's guillotine or Maxis' gallows. Whichever voice you've served in TranZit and Die Rise, finish the trilogy here to see that side's ending cutscene — the only true ending in BO2 Zombies.
Can you do the Buried easter egg solo? ⚠️ Partially.
- Richtofen side: steps 1–5 are solo-doable, but the levers/switch step requires 4 players.
- Maxis side: steps 1–6 are solo-doable, and full completion needs at least 3 players.
Must be played on Original difficulty. Both paths end with the same Sharpshooter finale and reward all of Buried's perks permanently.
Richtofen Side — The Guillotine
Step 1: Build the Guillotine (✅ Solo)
Assemble the guillotine structure between the Saloon and the Gunsmith from its four parts found around town. Richtofen confirms when it's ready.
Step 2: Freeze the Crystal Balls (✅ Solo)
Four crystal balls sit on pedestals around the map. Get the Paralyzer from the Mystery Box and freeze each ball with a sustained beam — a distinct sound confirms each successful freeze. (Don't break them — breaking is Maxis' version.)
Step 3: The Lantern (✅ Solo)
A purple lantern now flies through the sky above town. Knock it down with a grenade, pick it up, and take it to the Haunted Mansion: kill the Ghosts while the lantern is near so their essence charges it. When fully charged, place it on the marked outline on the Gunsmith's roof.
Step 4: Decode the Cypher (✅ Solo)
Above the placed lantern, three lines of symbols appear. Each line maps to one of the town's hanging signs. Decode which three signs the cypher points to, then punch those signs with the Galvaknuckles in the right order — sparks confirm correct hits.
Step 5: Guide the Wisp (✅ Solo)
Buy Vulture-Aid — the Wisp is invisible without it. Find the small ball of light, press interact on it, and it jumps to a new spot. Keep chasing and activating it until it reaches the Guillotine, then activate it once more to seat it in the neck hole — the guillotine becomes a wisp cannon. Kill the five wisp-marked zombies it designates.
Step 6: Round Infinity & the Levers (❌ Needs 4 Players)
- Place a Time Bomb (tactical from the box) at the Guillotine with all players standing around it, then activate it — the game rewinds into "round infinity", a suspended round state.
- Search the dead bodies that appear (locations vary) until one yields a switch; install it on the Guillotine.
- In the hedge maze, find the four levers on the metal doors and pull them in the correct order (trial and error — sparks mean success). This is the step that hard-requires four players.
Step 7: Sharpshooter (see Finale below)
Maxis Side — The Gallows
Step 1: Build the Hangman's Noose (✅ Solo)
Assemble the gallows beside the Courthouse from four parts around town.
Step 2: Break the Crystal Balls (✅ Solo)
Build the Subsurface Resonator (buildable) and power it with a Turbine — use it to shatter all four crystal balls.
Step 3: Charge the Lantern (✅ Solo)
Same lantern as Richtofen's path — shoot it down with a grenade — but Maxis wants it charged with zombies killed near it instead of ghosts. Place it on the Gunsmith roof outline when charged.
Step 4: Decode the Cypher (✅ Solo)
Identical to Richtofen's step: read the three symbol lines above the lantern and punch the three matching signs with Galvaknuckles.
Step 5: The Spire (✅ Solo)
When the signs are done, a ball of light (the Spire) appears. One player sets a Time Bomb aside as a checkpoint; the player who punched the last sign follows the Spire toward the gallows, feeding it charged zombie kills along the way. Use the Time Bomb rewind to repeat the trip and light the second bulb.
Step 6: The Bells (✅ Solo-ish, Easier with a Team)
Nine bells hang in three buildings — three each in the Courthouse, Candy Store and Barn. One player reads the switchboard in the Haunted Mansion while the others ring the matching bells at the right moments. This coordination step is why Maxis' side realistically wants 3+ players.
Step 7: Sharpshooter (see Finale below)
The Finale — Sharpshooter Round (Both Sides)
- Make a wish at the fountain near the Church (toss points in).
- Targets appear at four zones: outside the Haunted Mansion, outside the Candy Store, inside the Saloon, and by the Mystery Box area.
- Players split up and shoot every target without missing the window — precision weapons or the Paralyzer recommended.
When the last target drops, your chosen master's plan completes: the third tower is claimed, "Mined Games" pops, and every player receives all of Buried's perks — permanently. They persist even through downs for the rest of the game.
Finish it on the side you played across all three maps and the ending cutscene for Maxis or Richtofen plays after the game — the actual conclusion of the Victis saga.
Musical Easter Egg — "Always Running" (✅ Solo)
Interact with the three teddy bears hidden around town (one in the tunnel area, one in the general store/candy shop, one in the mansion grounds). All three trigger Always Running by Malukah and Kevin Sherwood.
FAQ
Can Mined Games be done solo? Not fully. Richtofen's side needs 4 players at the levers step; Maxis' side needs at least 3. Everything before those steps is great solo practice, but the trophy needs a team.
Which ending is "right"? There's no canon-neutral answer inside BO2 — Maxis' ending is what the later storyline (Origins/BO3) builds from. Do both across two playthroughs if you can.
What's the reward? All perks on the map, permanently, for every player — the strongest easter egg reward in BO2.
Do the TranZit and Die Rise choices matter? Yes: to see a side's cutscene here, that same side must have been completed on the other two maps.
Tips
- Leroy (the giant) is your logistics department: candy from the Candy Store directs him to smash debris, open the bank vault, or fetch the box. Use him constantly.
- The Time Bomb is both a quest item and the best insurance in BO2 — always keep one banked.
- Vulture-Aid is mandatory for Richtofen's wisp and generally underrated solo — it drops ammo and points from kills.
- The Paralyzer never runs out — it recharges. It's also a flight tool: aim it at the ground to hover up to rooftops.