BO7 Zombies: The Meta Build — Best Perk Augments, Weapon Class & GobbleGum Pack
The definitive Black Ops 7 Zombies meta guide. Covers the best perk augments for maximum survivability and damage, the strongest weapon class for new and experienced players, and the optimal GobbleGum pack to start every run with.
Overview
If you want to go as deep as possible in Black Ops 7 Zombies — surviving to the highest rounds, dealing the most damage, and never feeling like the game is outpacing you — this is the guide to follow. We break down the best perk augments for each perk, the best overall weapon class to run, and the best GobbleGum pack to start the game with. This is the current meta. Build it once, and you'll never feel underpowered again.
How augments work: Each perk has a Major and Minor augment slot. The Extra Slot Minor augment unlocks a second Minor slot, effectively giving you 1 Major + 2 Minors per perk. Always take Extra Slot as your first Minor on every perk.
Best Perk Augments — Immortality & Max Damage
Jugger-Nog
Effect: Increases your maximum health by 100.
Why You Run It: The non-negotiable foundation of every build. More health means more margin for error at high rounds, during boss fights, and whenever movement alone won't save you.
Best Major Augment: Reactive Armor When an Armor Plate breaks, nearby normal enemies are stunned for a short time. This creates an automatic breathing room window right when you need it most — the moment you absorb a hit and would otherwise get swarmed.
Best Minor Augment 1: Extra Slot Unlocks your second Minor augment slot. Always take this first.
Best Minor Augment 2: Hardened Plates Armor plates have more damage mitigation. Combined with Reactive Armor, your armor absorbs more before breaking and punishes enemies when it does.
Speed Cola
Effect: Increases reload and armor replating speed by 30%.
Why You Run It: Reload speed is uptime. The less time you spend in a reload animation, the more time your gun is pointing at zombies. On the Novaline this already feels fast — Speed Cola makes it seamless.
Best Major Augment: Classic Formula Reload speed is even faster beyond the base perk bonus. The simplest and most impactful Major augment on Speed Cola — more of the thing the perk already does best.
Best Minor Augment 1: Extra Slot Unlocks your second Minor augment slot.
Best Minor Augment 2: Quick Swap Swap weapons faster. If you're running a second weapon alongside the Novaline, Quick Swap removes the hesitation on every weapon transition.
Stamin-Up
Effect: Increases movement speed.
Why You Run It: Movement is the primary survival mechanic in Zombies. If you can always stay ahead of the horde, damage output matters far less. Stamin-Up closes the gap between a good kite and a perfect one.
Best Major Augment: Guns Up Fire while sprinting. This is one of the strongest augments in the game — it removes the fundamental trade-off between moving and shooting, letting you deal damage while maintaining full sprint speed through a horde.
Best Minor Augment 1: Extra Slot Unlocks your second Minor augment slot.
Best Minor Augment 2: Hard Target While sprinting, projectile damage is reduced. Combined with Guns Up, you are now sprinting, shooting, and taking less damage from ranged attacks simultaneously.
Quick Revive
Effect: Reduces health regen delay by 50%. Reduces ally revive time by 50%.
Why You Run It: In solo it's a passive survivability multiplier — your health comes back twice as fast after every engagement. In co-op it's a team safety net. Either way the value is enormous for the cost.
Best Major Augment: Dying Wish On lethal damage, you briefly become immune to all damage and survive on 1 health. Can trigger up to 3 times before Quick Revive is consumed. This is the single most powerful survival augment in the game — it effectively gives you three extra lives on top of your normal health pool.
Best Minor Augment 1: Extra Slot Unlocks your second Minor augment slot.
Best Minor Augment 2: Slow Death Increases your time in last stand. In the worst-case scenario where Dying Wish has been exhausted, Slow Death extends your window to be saved by a teammate or reposition.
PhD Flopper
Effect: Immunity to all self-inflicted damage and status effects. Dive to prone triggers an explosion that scales with fall height. Immunity to fall damage while diving prone.
Why You Run It: PhD removes the only real drawback of explosive builds and turns every dive into a crowd control tool. The dive explosion is a legitimate panic button at any round — and with the right augments, it becomes an active ability rather than a last resort.
Best Major Augment: Double Whammy Releases a second explosion shortly after a flop. Two explosions per dive means significantly more coverage, more damage, and more consistent crowd clearing — especially useful when kiting a large train into a confined space.
Best Minor Augment 1: Extra Slot Unlocks your second Minor augment slot.
Best Minor Augment 2: EOD Technician Reduces the height and slide distance requirements to trigger explosions. Makes PhD's active mechanic far easier to proc consistently without needing to find elevated areas or long slides.
Deadshot Daiquiri
Effect: Aiming down sights snaps to enemy critical locations. Increases critical damage to enemies.
Why You Run It: Headshots deal bonus damage and Deadshot automates hitting them. At high rounds where body shots feel ineffective, reliable crits are the only way to maintain meaningful damage output without a Wonder Weapon.
Best Major Augment: Dead Head Further increases Deadshot Daiquiri's critical damage bonus for guns. This raises the ceiling of every headshot kill, and since the perk guarantees headshots on ADS, this bonus is active on nearly every shot you fire.
Best Minor Augment 1: Extra Slot Unlocks your second Minor augment slot.
Best Minor Augment 2: Dead Break Increases damage to armor pieces. Elite and special enemies in BO7 frequently carry armor. Dead Break combined with Dead Head means you strip armor faster and deal more damage the moment it's gone.
Elemental Pop
Effect: Every bullet you fire has a small chance to apply a random Ammo Mod effect.
Why You Run It: Passive crowd control with zero resource cost. On a high-fire-rate weapon like the Novaline, this procs frequently — freezing, burning, and shocking zombies without consuming your dedicated Ammo Mod slot.
Best Major Augment: Electric Cherry Reloading creates an electric damage discharge that damages and stuns nearby normal enemies. The more empty the magazine, the stronger the discharge. This is an exceptional pick — the moment you're most vulnerable (mid-reload, stuck against a wall, pinned during an Easter Egg defend step) is the exact moment it fires. On the Novaline, with its fast reload and frequent magazine dumps, Electric Cherry procs constantly.
Personal pick: Electric Cherry feels like having an extra perk entirely. The electric discharge on reload is incredibly useful during Easter Egg defend steps or any time you get cornered. It bails you out in exactly the moments where other augments would do nothing. Highly recommended over the alternatives.
Best Minor Augment 1: Extra Slot Unlocks your second Minor augment slot.
Best Minor Augment 2: Chill Berry Reduces Elemental Pop cooldowns. More frequent procs across the board — straightforward and consistent.
Mule Kick
Effect: Allows you to carry a third weapon.
Why You Run It: Three weapons means three ammo pools. You can hold the Novaline as your main, a Wonder Weapon for boss steps, and a launcher or backup without ever sacrificing a slot.
Best Major Augment: Ol' Reliable Your third weapon is recovered when you repurchase Mule Kick after going down. Losing your third weapon slot on death is the biggest drawback of Mule Kick — Ol' Reliable removes that entirely.
Best Minor Augment 1: Extra Slot Unlocks your second Minor augment slot.
Best Minor Augment 2: Pack Mule Carry more stock ammo across all weapons. Three weapons with expanded reserves is an enormous total ammo pool — you can go multiple rounds without touching an ammo box.
Double Tap
Effect: Increases weapon fire rate.
Why You Run It: More fire rate means more bullets downrange per second, which means faster kills and higher Elemental Pop proc frequency. At high rounds where TTK becomes a real concern, Double Tap keeps the Novaline's kill speed competitive. The Novaline is already one of the fastest-firing weapons in the game — Double Tap pushes it into a category of its own.
Best Major Augment: Double Standard All non-critical shots deal double damage. Only applies to normal bullet weapons. On the Novaline you're spraying full magazines into hordes — the vast majority of those shots are non-crits. Doubling that damage is an enormous sustained DPS increase and scales perfectly into high rounds.
Best Minor Augment 1: Extra Slot Unlocks your second Minor augment slot.
Best Minor Augment 2: Double Time Further increases the fire rate bonus from Double Tap. Stacking more fire rate on top of an already-fast weapon like the Novaline means even more bullets per second, even more Elemental Pop procs, and even faster clear speeds. The Novaline + Double Tap + Double Time combo is the highest fire rate setup in the current meta.
Death Perception
Effect: Detect enemies through obstacles and walls via the outlines of their bodies.
Why You Run It: Map awareness is a genuine survival tool at high rounds. Being able to see zombies through walls before they reach you means better positioning, no surprise attacks from blind corners, and cleaner kite routes. On Easter Egg runs it also helps you track enemy positions during defend steps without losing sight of the objective.
Best Meta Perk Stack
For maximum survivability and damage output, run these perks in priority order:
- Jugger-Nog — Reactive Armor | Extra Slot + Hardened Plates
- Speed Cola — Classic Formula | Extra Slot + Quick Swap
- Stamin-Up — Guns Up | Extra Slot + Hard Target
- Quick Revive — Dying Wish | Extra Slot + Slow Death
- Deadshot Daiquiri — Dead Head | Extra Slot + Dead Break
- Elemental Pop — Electric Cherry | Extra Slot + Chill Berry
Perks 1–4 make you nearly unkillable. Deadshot and Elemental Pop push your damage output and crowd control to the highest level available from perks alone. If you can only afford four perks early, go Jugger-Nog → Speed Cola → Stamin-Up → Quick Revive and add the rest as points allow.
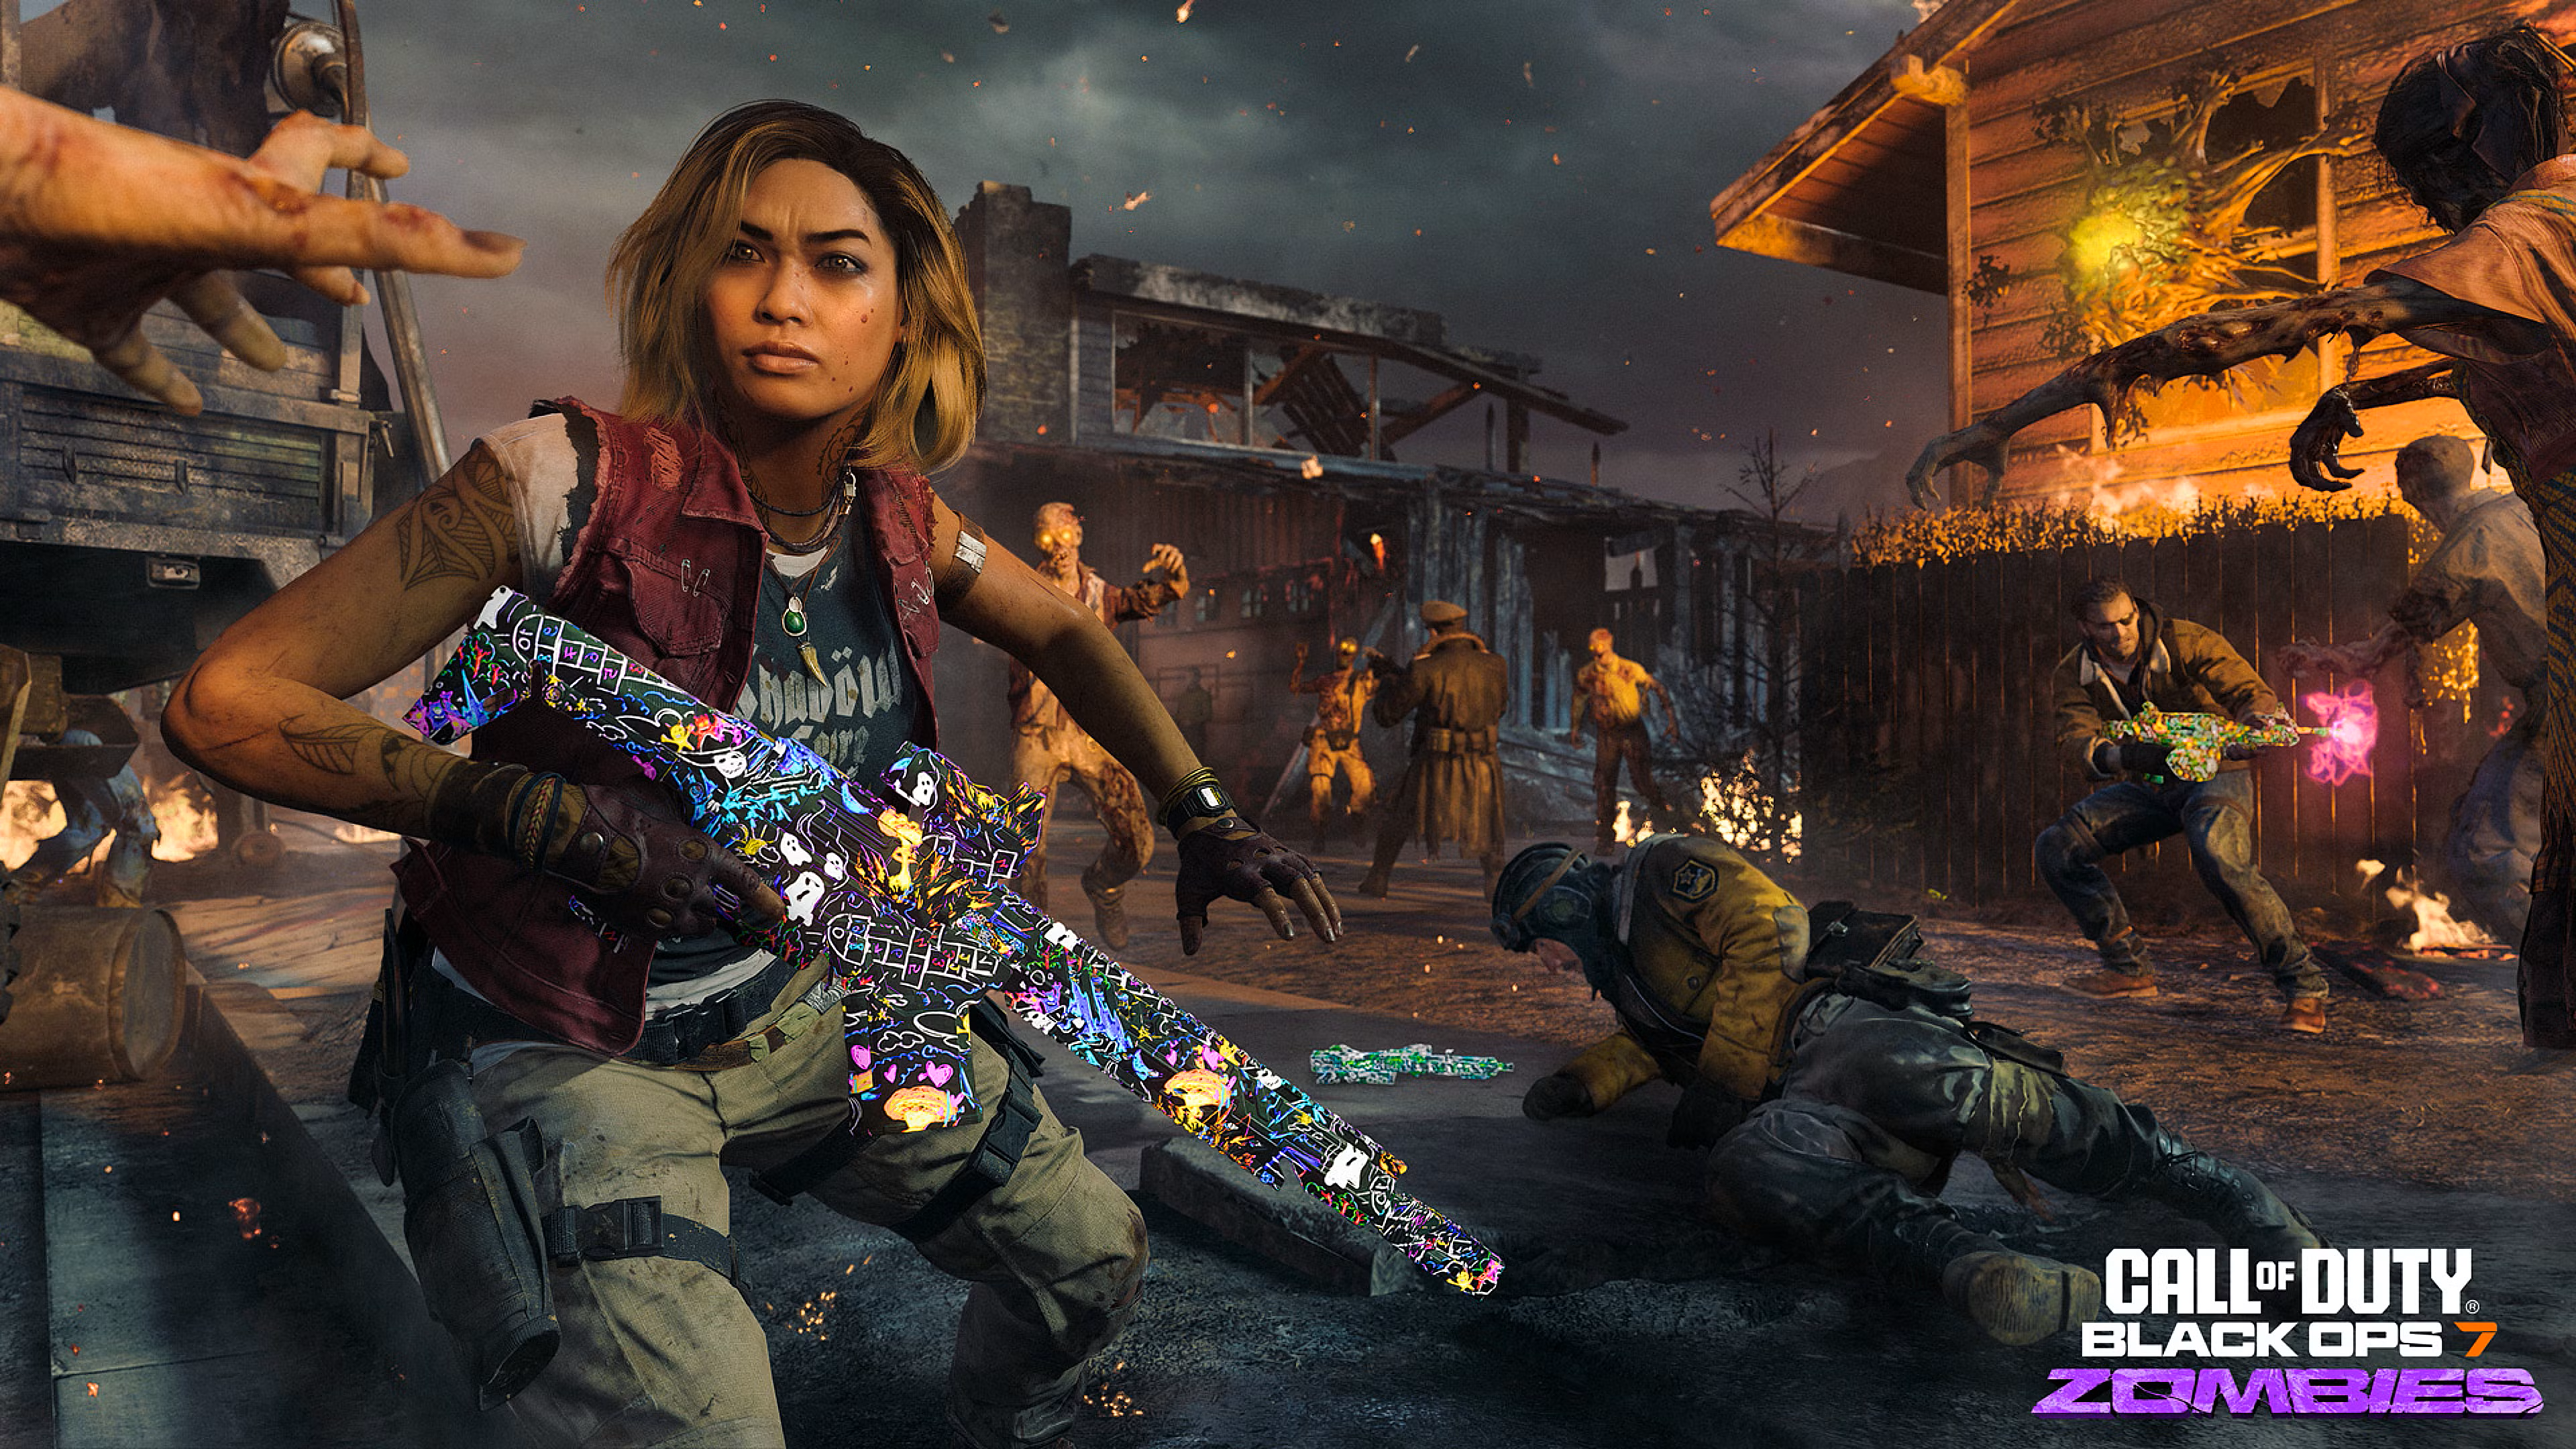
Best Meta Weapon Class: The Novaline SMG
The Novaline is the best all-around weapon in Black Ops 7 Zombies and the best choice for players at every level.
Fire Rate & TTK — The Novaline has one of the highest fire rates in the game. Combined with Double Tap, standard zombies die fast at any round and the TTK stays manageable well into the high rounds with PaP upgrades.
Mobility — It's lightweight. Combined with Stamin-Up's Guns Up augment, you maintain full sprint speed while firing. No other weapon class gives you this without sacrificing damage.
Pack-a-Punch Scaling — Scales cleanly through all three PaP tiers. PaP2 gives it real stopping power, PaP3 keeps it relevant past round 40.
Ammo Efficiency — Best magazine-to-reserve ratio in its class. You spend fewer points on ammo and more on upgrades and perks.
Ammo Mod Synergy — Brain Rot is the best mod on the Novaline. The high fire rate procs it frequently, turning zombies against each other and creating breathing room to reposition. Combined with Electric Cherry's reload discharge, your close-range control is near-constant.
Why It's Great for New Players — Available off the wall on most maps, cheap to pick up, and strong even before Pack-a-Punch. New players can rely on it from round 1 without needing a specific loadout or GobbleGum setup.
Best Meta GobbleGum Pack to Start With
The strongest starting pack is built around getting Jugger-Nog and Pack-a-Punching the Novaline as fast as possible.
Recommended Starting Pack
- Perkaholic — Instantly grants every perk on the map. Pop it round 1 or 2 and enter round 3 with your full stack already active.
- Wall Power — Your next wall weapon purchase is automatically Pack-a-Punched for free. Buy the Novaline off the wall and get a PaP1 version without spending 5000 points.
- Impatient — Respawns you at the start of the next round when downed. Keeps you in the run without a full restart on maps where you don't have a self-revive.
- On the House — Grants a random perk for free. Pure value — extends your perk coverage beyond your normal budget.
- Anywhere But Here — Teleports you to a random safe location instantly. The best panic button in the game. Use it when cornered or caught mid-reload with no exit.
Why This Pack Is the Best
Perkaholic + Wall Power means you can enter round 5 with a full perk stack and a PaP1 Novaline — a setup that normally takes 20+ rounds to build. Impatient and Anywhere But Here act as insurance that prevents a bad round from ending the run. On the House is free perk coverage on top.
If You Don't Have Mega GobbleGums
- Impatient — Always worth a slot for solo runs
- In Plain Sight — Zombies briefly ignore you, perfect for repositioning or completing an Easter Egg step
- Alchemical Antithesis — Kills temporarily replenish ammo instead of awarding points. On the Novaline this is a massive ammo generator in the mid-rounds
The Complete Meta Build
| Slot | Choice | Major Augment | Minor Augment 1 | Minor Augment 2 |
|---|---|---|---|---|
| Weapon | Novaline SMG (PaP3, Brain Rot) | — | — | — |
| Perk 1 | Jugger-Nog | Reactive Armor | Extra Slot | Hardened Plates |
| Perk 2 | Speed Cola | Classic Formula | Extra Slot | Quick Swap |
| Perk 3 | Stamin-Up | Guns Up | Extra Slot | Hard Target |
| Perk 4 | Quick Revive | Dying Wish | Extra Slot | Slow Death |
| Perk 5 | Deadshot Daiquiri | Dead Head | Extra Slot | Dead Break |
| Perk 6 | Elemental Pop | Electric Cherry | Extra Slot | Chill Berry |
| GobbleGum | Perkaholic, Wall Power, Impatient, On the House, Anywhere But Here | — | — | — |
Tips
- Jugger-Nog first, always — every other perk decision comes after securing your health floor.
- Dying Wish on Quick Revive is broken — three extra lives on top of your health pool makes you incredibly hard to kill at any round.
- Guns Up on Stamin-Up changes how you play — you no longer have to stop sprinting to shoot. Use it aggressively.
- Electric Cherry fires on every reload — dump your magazine intentionally when surrounded and let the discharge clear the cluster.
- Buy the Novaline before popping Wall Power — Wall Power triggers on your next wall purchase, so make it the Novaline.
- Brain Rot on the Novaline is essential at high rounds — converted zombies draw aggro off you and give you reload windows you would not otherwise have.
- Anywhere But Here saves runs — do not hold it waiting for the perfect moment. If you're cornered with no exit, use it immediately.